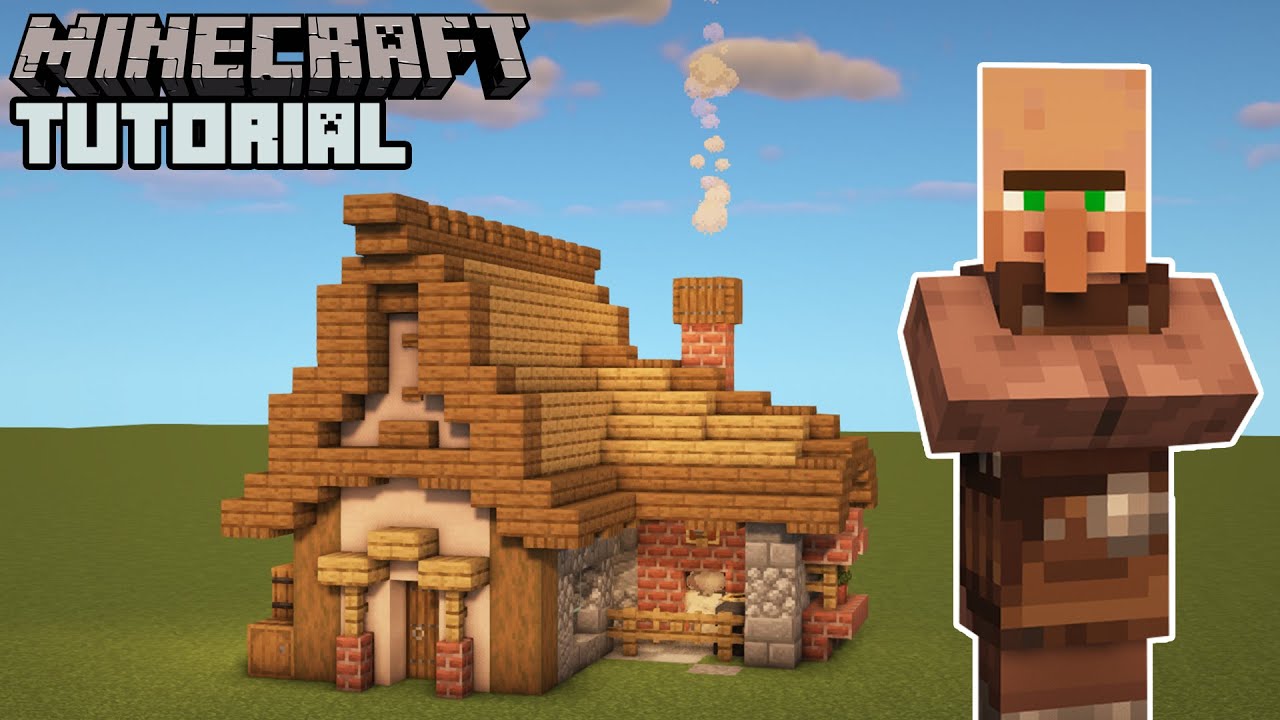

How Do You Make a Villager’s House in Minecraft? A Comprehensive Guide
Ever wondered how to design the ideal dwelling for your blocky neighbors in Minecraft? Crafting a comfortable and functional home for villagers is more than just slapping together some wooden planks; it’s about understanding their needs, optimizing their routines, and creating a thriving community. This guide provides a comprehensive, expert-backed approach to designing and building villager houses that enhance their lives and boost your village’s prosperity. We’ll delve into design principles, practical construction tips, and advanced techniques to create villager homes that are both aesthetically pleasing and functionally superior.
Understanding Villager Housing Needs: The Foundation of Good Design
Before you even place your first block, it’s crucial to understand what villagers need in a home. Their basic requirements aren’t complex, but meeting them effectively is key to a happy and productive village. A villager’s house needs to provide shelter, a bed for sleeping, and access to a workstation for their profession. However, optimal design goes beyond these basics.
Essential Elements of a Villager Home
- Shelter: Protection from the elements (rain, snow) and hostile mobs is paramount. Walls, a roof, and a door are non-negotiable.
- Bed: Each villager needs their own bed to claim as their own. Unclaimed beds will lead to villagers wandering aimlessly.
- Workstation: This is the linchpin of their profession. A farmer needs a composter, a blacksmith needs a smithing table, and so on.
- Accessibility: Villagers need to be able to easily access their workstation and bed. Pathfinding issues can lead to frustration and decreased productivity.
Beyond the Basics: Enhancing Villager Well-being
While the essentials are critical, consider these factors to create a truly exceptional villager home:
- Space: Cramped quarters can lead to villagers bunching up and getting in each other’s way. Provide ample space for movement.
- Lighting: Well-lit interiors discourage hostile mobs from spawning inside and create a more welcoming environment.
- Aesthetics: While not strictly necessary, a visually appealing home can boost your own enjoyment of the village and create a more immersive experience.
- Safety: Ensure the home is secure from zombie sieges and other threats. Iron doors, walls, and strategically placed lighting can help.
Step-by-Step Guide to Building a Simple Villager House
Let’s walk through the process of constructing a basic, functional villager house. This design can be easily adapted and expanded upon.
Step 1: Planning and Resource Gathering
Before you start building, gather the necessary resources. You’ll need wood (planks, logs), cobblestone (or other building blocks), glass, a door, a bed, and a workstation appropriate for the villager’s profession.
Step 2: Laying the Foundation
Mark out a rectangular area for the house, approximately 7×7 blocks. This provides enough space for a villager to move around comfortably. Use cobblestone (or your preferred building block) to create a one-block-high foundation.
Step 3: Constructing the Walls
Build the walls using wooden planks. Make them three blocks high. Leave a one-block gap for the door.
Step 4: Adding the Door and Windows
Place a wooden door in the designated gap. Add glass windows to the walls to let in natural light. Consider using different colored glass for a more decorative touch.
Step 5: Building the Roof
Create a simple roof using wooden planks or slabs. A flat roof is easiest, but you can also create a sloped roof for a more traditional look.
Step 6: Interior Furnishing
Place a bed inside the house. Add the appropriate workstation for the villager’s profession. For example, if you want a farmer, place a composter inside the house.
Step 7: Lighting
Place torches or lanterns inside the house to provide adequate lighting and prevent hostile mobs from spawning.
Advanced Villager Housing Designs: Elevating Your Village Architecture
Once you’ve mastered the basics, you can explore more advanced villager housing designs. These designs incorporate aesthetic elements, optimize functionality, and create a more visually appealing village.
Multi-Story Villager Homes
Building multi-story homes allows you to house more villagers in a smaller area. Use stairs or ladders to connect the different levels. Consider adding balconies or rooftop gardens for added visual appeal.
Themed Villager Districts
Create themed districts based on villager professions. For example, a farming district could feature fields, windmills, and houses designed to resemble barns. A blacksmith district could include forges, anvils, and houses with a more industrial aesthetic.
Underground Villager Bunkers
In areas with frequent zombie sieges, consider building underground villager bunkers. These bunkers provide maximum protection from hostile mobs and can be decorated to resemble cozy underground homes.
The Importance of Workstations and Bed Placement
The placement of workstations and beds is crucial for villager behavior. Villagers will claim the nearest unclaimed bed as their own. They will also link to the nearest unclaimed workstation that matches their profession. Proper placement ensures that villagers claim the correct bed and workstation, preventing confusion and maximizing productivity. If a villager cannot reach their bed or workstation, they will become unproductive and may even despawn. It is also important to note that baby villagers do not need workstations, but they do need beds.
Optimizing Workstation Access
Ensure that villagers have a clear and unobstructed path to their workstations. Avoid placing obstacles in their way, such as fences or walls. Consider using open floor plans to maximize accessibility.
Strategic Bed Arrangement
Arrange beds in a way that prevents villagers from bumping into each other while sleeping. Provide ample space between beds to allow for easy movement. Consider using different colored beds to differentiate between villagers.
Troubleshooting Common Villager Housing Problems
Even with careful planning, you may encounter problems with your villager housing. Here are some common issues and how to resolve them.
Villagers Not Claiming Beds
If villagers are not claiming beds, make sure that there are enough beds for all villagers. Also, ensure that the beds are not obstructed and that villagers have a clear path to them.
Villagers Not Linking to Workstations
If villagers are not linking to workstations, make sure that the workstations are appropriate for their profession and that they are not obstructed. Also, ensure that the villagers have a clear path to the workstations.
Zombie Sieges
Zombie sieges can be devastating to villager populations. Protect your village with walls, iron doors, and strategically placed lighting. Consider building underground bunkers for added protection.
The Role of Village Design in a Thriving Minecraft Community
Creating well-designed villager houses is an investment in your Minecraft community. Happy and healthy villagers are more productive, leading to increased trade and a more prosperous village. By understanding their needs, optimizing their living spaces, and creating a visually appealing environment, you can transform your village into a thriving hub of activity. Taking the time to design a village that is both functional and beautiful is a rewarding experience that will enhance your Minecraft gameplay.
Crafting Your Villager Utopia
Building the perfect villager house in Minecraft is a blend of practical construction, understanding villager behavior, and creative design. By following the guidelines outlined in this guide, you can create homes that are not only functional but also aesthetically pleasing, contributing to a thriving and vibrant village. Share your own villager house designs and building tips in the comments below, and let’s continue to build a better Minecraft world together.
